Good Sunday Morning everyone! I just thought that I would pop by and share a quick little tutorial that I did this morning. In my surfing on Pinterest (Yes I know it is addicting) I found this cute little tutorial on Washi tape covered tacks and thought - hmmmmm . . . buttons? brads? So I thought that I would give it a little try. Here is what I came up with:
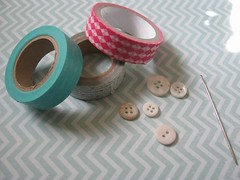
1. Gather supplies - Unwanted buttons - My father picks up tons of buttons at garage sales for me and so I have a tons of those not-so-appealing white ones, washi tape, a darning needle or piercer, and maybe an exacto knife.
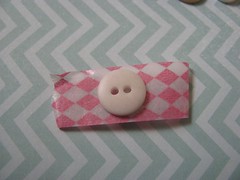
2. Lay your button on the washi tape tape sticky side up and trim around the edge.
3. Begin folding up the edges and run your nail along the edge to secure.
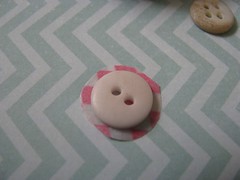
4. Finally put the large end of your needle or piercer through the holes and wiggle a bit til you get the desired effect.
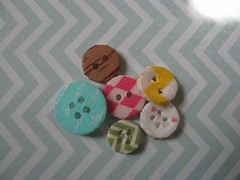
5. Now I like the rough edges at times but sometimes I like a cleaner edge so on the green and teal buttons, I trimmed around the edge with an exacto knife!
Here is a layout that I created using teal buttons with a rough edge. My daughter loved the One Direction store at the MOA!
Extend that washi tape and try these out!


No comments:
Post a Comment