Background

Sunday, August 5, 2012

Viewmaster Slides Tutorial and Handmade Embellishment Linky Party

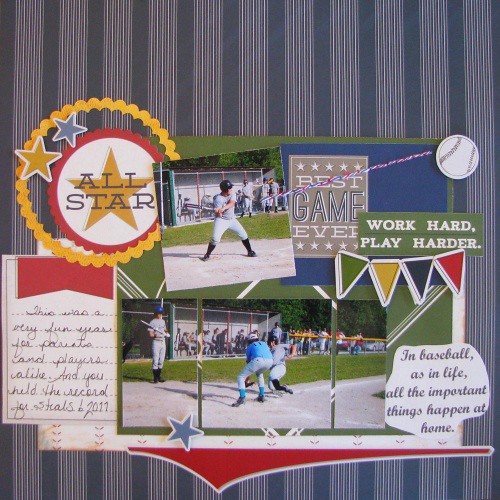
I have loved the trend of Viewmaster slides as of late but I haven't been able to find them in my LSS.  So then I started thinking . . . Cassy . . . why not make some of your own to coordinate with your layouts.  So I started playing with punches and such and here is what I came up with.  I made several of different sizes for the following layout for my NAS DT reveal.  The layout also made Cookin' Up Creation's layout of the week!  YAY!


And here is how I made the slides:

1.  First I gathered supplies.  I needed a circle (mine was a 3" circle), coordinating scraps, a 1" square punch - or you could hand cut them, a rectangle and oval hand punch, and a 1" circle punch.


2.  Next, I place a small mark on the top, bottom, left, and right to line things up.  I used my quilting mat that I work on for that but a ruler would work just fine,


3.  Then I glued a 1" square next to each mark.  You will need 12 squares in total for a 3" circle.


4.  I then glued 2 squares in between each of my marked squares and I trimmed an old paper flower and punched a coordinating 1" circle and glued them in the center.


5.  And finally, I erased the marks and punched 4 rectangles and just nipped the edges in between each square with the oval punch to create the round marks.


Here is another layout that I created recently with a handmade embellishment.  I found the flower tutorial on Pintrest and couldn't resist making a smaller version.  I also trimmed the outside edge to make a more delicate flower when I was finished.


So share with us your favorite handmade embellishment.  Link back to your blog if possible and we will have a collection of amazing inspiration.  Also, I will again send out a small RAK for the random drawing for anyone who enters.  Remember you can link up to five projects, cards, or layouts!  Last week's winner was Jan!


Thursday, August 2, 2012

CUC's New Theme

I love the sights and sounds of an amusement park. The cotton candy, popcorn, caramel apples (my personal fav), waffle cones, bright colors, bright lights at night, and so much more! The month's theme at Cookin' Up Creations is. . . . wait for it . . . . Amusement Parks!  Come join us for some amazing challenges and great prizes and frankly, just a fun and supporting place to share!  You won't be disappointed and may even find a new home to visit daily.


Monday, July 30, 2012

Summer Layout, Card, Altered Project Linky Party

One of the things that I would love to do each Sunday is to create a place that people can go to share their favorite layouts, card, projects that they make.  I have found very few of these online and I thought that it might be fun to try one out and see how it goes.  So for at least the next month, I would love to have a Linky Party every Sunday (Sorry I had planned this for yesterday but we just switched internet services and I was without for a day).  It is very simple.  Just share the favorite scrappy item that you created in the linky party.  Each entry (up to 5 per person) will enter them in a drawing for a cute little RAK.  I can't wait to see what everyone creates!  Bare with me - this is my first.  I hope all goes well!

Here is my favorite Summer related layout that I have created.
Add your project in the linky list below:

Saturday, July 28, 2012

Show and Tell Saturday - Creative Cards

Now I am not much of a card maker myself, but lately, I have been quite inspired by some cards that I have found here and there recently.  These cards are very unique, pretty, and frankly clever gifts!  Check these out!

1.  Look at this colorful card from Leigh O'Brien at Sunflower Studio
2.  Again, I love the shape of this card and the color palette from the Diva Stamper.  It is very unique and pretty!
 3.  I think that ANY kid (including myself) would love to get this coloring card.  I don't know who to give credit to for this card.  Isn't it cute though??
4.  What about this cute little mustache card?  Who can resist this one by Amy Sheffer at Pickled Paper Designs?  This site is one of my favs!
5.  I love the bling and embossing on this card from Kim at Joyful Creations:
Thanks for joining me for another version of Show and Tell Saturday!  Come back tomorrow for a little inspiration and Linky Party!!!

Thursday, July 26, 2012

Purple Pumpkin Surprises Giveaway

Hello again all!  Just wanted to share Purple Pumpkin's newest giveaway today.  If you like surprises then this is just for you!  They are giving away their Lucky Dip Bags full of buttons and embellishments.  They also have amazing inspirational layouts!  Go to their site and sign up!  It is that easy!


Wednesday, July 25, 2012

Christmas in July Blog Hop Winner!

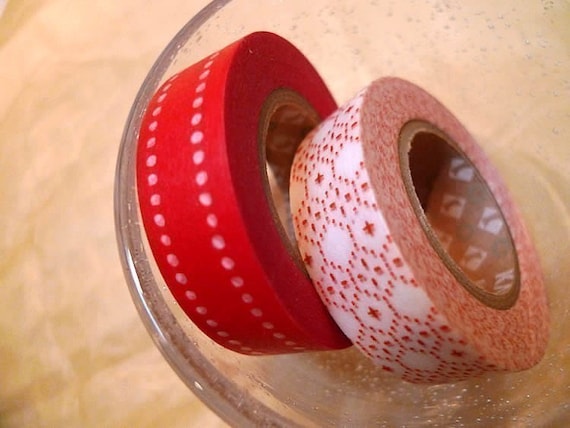
ScrappyJo is the blog hop winner of the set of Pretty Tape from one of my favorite Etsy stores!  Thanks for all the amazing comments!


Sunday, July 22, 2012

Christmas in July - Make your own bows!

I have an awesome little tutorial to share with you today that I also posted as one of the challenges on Cookin Up Creations Christmas in July Crop.  You can get a head start on your gift wrapping! This would work for any holiday and it only requires a 6 x 12 (or I also did a 6 x 8 bow with one less layer) piece of scrap paper, gift wrap, or I have even seen some people using magazines and some hot glue! I tried the tutorial with sticky dots but if you use a heavier scrap, they seem to pop apart.


Then I couldn't stop making more! I even played and made one with less layers and punched the edges of the pieces to make a lacier bow!

The first bow took me about 15 minutes to make. After that, I was whipping them out and couldn't stop! My daughter and niece were amazed. How cool to use your scraps and make something special to decorate a gift. Bows like these cost over a dollar each at the store unless you buy the bags around Christmas time. I find that they often don't match the package and smush easily. These are very strong and solid and look amazing! Your family will be totally impressed. I plan to make a lot more of these for wrapping all types of gifts for any holiday!

The tutorial from Split Coast Stampers is very thorough - http://www.splitcoaststampers.com/resources/tutorials/dsp_bow. The only tricky part that I found is that when you are cutting, you cut the 6" strips, turn the paper and cut the 4" strip, then turn the paper back to cut the 5" strip. That way you only need one 6 x 12 piece. By using hot glue, I didn't need to use brads but either way would work!  Now go and build a stash for the future!