Background

Saturday, January 14, 2012

Cookin' Up Creations Themed Challenge and Inspiration Kit

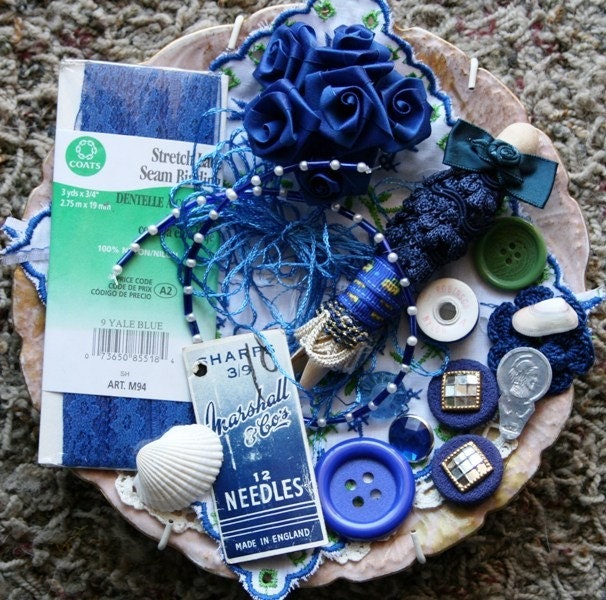
On CUC this Friday, they encouraged us to go through our stash and pick out elements with a theme.  Because my niece just turned 3, I really wanted to create some cute buttons to go along with this "inspiration kit" from my stash.  Here is the a photo of the kit and buttons:


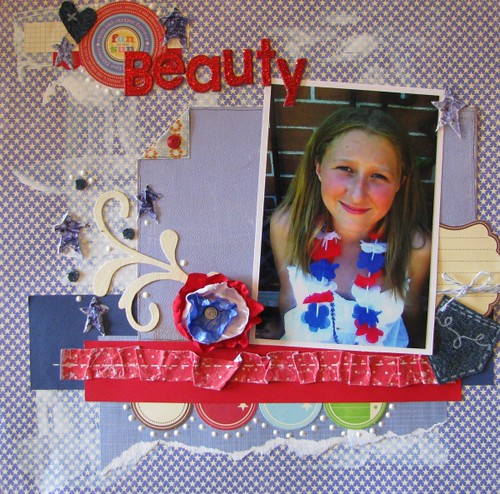
And here is the layout the I created using my stash and a little creativity!  As you can see, I cut apart the journaling block to create the visual triangle and also to decorate the banner.  I covered the chipboard banner pieces with coordinating patterned paper and embellished with words from the block also. 

Friday, January 13, 2012

Fall Inspiration Kit and layout

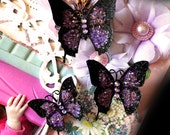
As many of you know, my newest little obsession is making handmade clay buttons.  I also started making inspiration kits to go with them as well and I thought that this cute little kit would go great with these photos of my niece.  So I began with this Inspiration Kit like those that I have for sale on Etsy - Check out my shop.


I didn't use every piece of the kit - I still have a few goodies for later use - but I created this pretty little layout.  The butterflies were stamped and embossed on transparencies and then I added alcohol inks to add color.  I also added some Shimmerz and glitter to the clay to give it a little something extra and so it would coordinate better with the butterflies!

Wednesday, January 4, 2012

My Top 10 Favorite Etsy Scrapbooking Supply Stores

This year, I have found a ton of really cool, handmade and storebought embellishments on ETSY and thought that I would share some with you!

10.  Crafty Theresa D - Tons of unique supplies are just waiting for you! 

9.  Funtoolas - If you are into beautiful kits, this is the site for you!

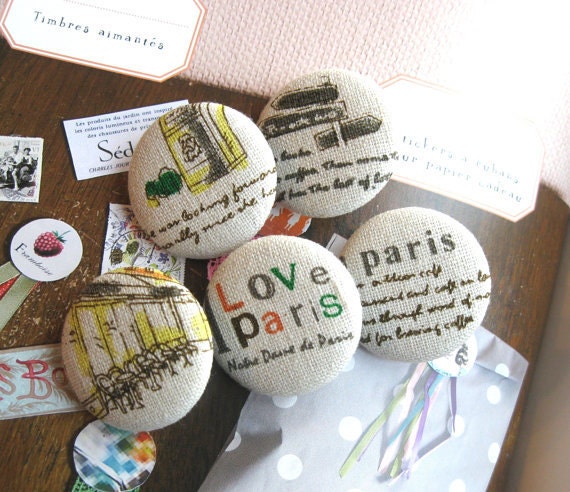
8.  Retro Nana - I love her adorable fabric buttons!

7.  Vintage Scrap Shop - Her lovely, vintage supplies will add to any card or scrapbook page.

6.  My Divine Inspiration - I love her little handmade floral kits!

5.  Avante-Card - Even though I am not a card maker, I love all of her unique tags and home decor items!

4.  Hailey's Bobbins - I love her beautiful inspiration kits.

3.  Ephemeratta - There is a little bit of everything for everyone here!

2.  Henrytj's Boutique - I love their beautiful flowers!!! 


1.  Reneabouquet's - I can't resist her beautiful handmade butterflies!

Thursday, December 29, 2011

My New Monthly Memory Challenge

Hello all!  With the very unexpected death recently of my beautiful mother, I have realized many things.  First off, scrapbooking should be relaxing and fun because it is the details in life that are important.  I also realized that unfortunately many of these details have been forgotten.  So I was inspired by a recent layout in a Scrapbooks Etc.  "Moments I love in February,"  to capture those details and share them with my kids for the future.

I really don't have time (or the desire) to journal nightly, however first off, I could easily snap a photo of a memory several times a month and also write down some of those details on a sheet of paper to make a double page, 12 x 12 layout for each month.  One page will hold the photos.  The other, the memories.  They may include a funny quote, a special moment, an unexpected treat, a sweet snapshot of the kids or a relative, etc.  The second part of this challenge is to have at least one photo of me on each layout as I was disappointed that I didn't have more of my mother.  The third part of this challenge will be that all memories will be recorded in my own handwriting to share in the future.

So first off, I downloaded a 1/2 sheet birthday calendar to document some memories.  I likely won't have one each day but I should be able to jot down the memories and keep it in my purse to add to it whenever needed.  Then when January rolls around, snap, snap, snap.  Check back often to see the results.

Monday, September 26, 2011

My New Little Addiction

I have found a few ETSY stores lately selling these cute little handmade clay button kits - a little pricey and I decided to try my hand at making a few.  I just couldn't resist making a few little kits.  Check out the new ones that I added below.


Make sure to check out my shop!  There is always a little link at the right!  I will always customize kits too.  TFL!

Wednesday, August 24, 2011

F is for Frame

Ok so yes . . . I skipped E.  I have been stuck for a while on E and can't seem to decide what to alter for E so I skipped it and went on to F!  This is a frame that I made for my parent's anniversary.  The frame was a gift from my new Sister in law and Brother in law. 

I painted the frame, added tons of mists, accent paints, distress inks, etc.  Then I made some "metal flowers" using a tutorial from Miss Art's Papercrafting classes!  They were so easy to make!  They are made of foil duct work tape and cardstock (and lots of embossing and painting.)  They are very sturdy and I reinforced them with Glossy Accents.  I also used some dimensional paste to make some branches and a doily flower along with lots of other embellishments!


If you haven't check out Miss Art's Papercrafting website, it is a must!  For $15.00, each month, I learn TONS of basic and advanced scrapbooking techniques!  There is something for everyone and the video tutorials and examples are awesome!  Classes this month - so far include - classes on mists, journaling, and scrapbooking milestones with tons more to come!

Monday, August 15, 2011

7 Ways - Use those labels, journaling spots, and doodads and Giveaway!

I think that we all have tons of those extra labels, journaling spots, and cardstock doodads leftover from kits that we just can't seem to toss - and why would we???  They are amazing and even though you may not have a lot of the original kit that they came with leftover, we can still put them to creative use.  So without further ado:

**First, I needed to organize my items!  I have tons of these little items floating and it is so hard to find anything unless they are organized in some way.  So I purchased a set of drawers from Walmart, taped a color to the front of each drawer, and organized all of my spots here!


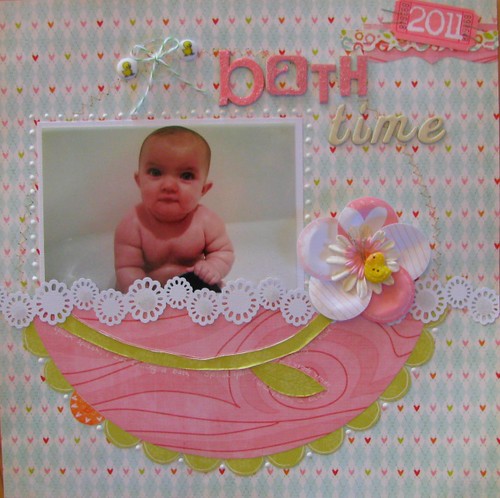
1.  Use those spots to create a unique scalloped border like I did here!  Then I highlighted the border with white puffy paint.
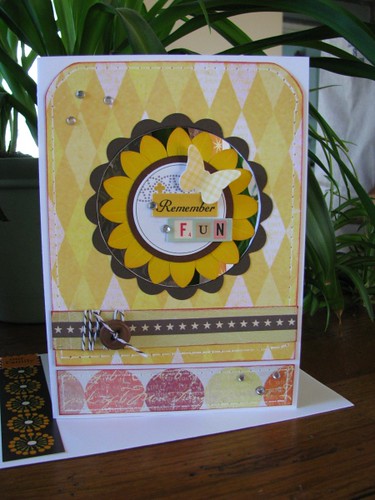
2.  I use journaling spots here on this spinner card to take a die cut from The Shinta Shop and transform it into this cute little embellishment for my card.

3.  Then use the extras to embellish the envelope to match the card!!!
4.  Here is used some (really) old journaling spots from Heidi Swapp and snipped them to the center.  Then I used glue dots to overlap where I snipped to give it a bit of dimension.  I attached them to one large glue dot and added a Prima and a cute little duck button, to create this unique little flower.
5.  Next I used some circular journaling spots to create a visual triangle by placing them behind three little fussy cut owls that were glossed and popped off the layout.
6.  Here, I trimmed the journaling spots in half and sewed them around the edge of the layout for a really cute little border.
7.  And finally, cut the labels in half and use them for tabs for your photos, file folders, etc.

Do you have some unique ways to use journaling spots???  Add your ideas in the comments and I will randomly pick a winner for a surprise goody bag in my next 7 Ways post!