

Thursday, August 11, 2011
Purple Pumpkin Giveaway!


Thursday, July 21, 2011
Sketch Contest at Purple Pumpkin
Over at the Purple Pumpkin, they are running a sketch contest with this adorable one photo sketch!

And each person that submits by July 22nd gets a free pack of their amazing buttons. Can't complain about that!!! Here is my submission. Of course it is of my daughter and her curse of the Gohl curls! Poor child went to bed with wet hair. Not smart in our family!!! :)

TFL!!

And each person that submits by July 22nd gets a free pack of their amazing buttons. Can't complain about that!!! Here is my submission. Of course it is of my daughter and her curse of the Gohl curls! Poor child went to bed with wet hair. Not smart in our family!!! :)

TFL!!
Sunday, July 17, 2011
Puffy Paint Technique
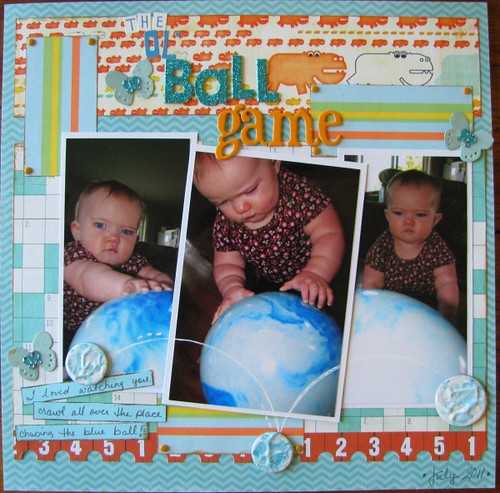
I loved the pictures of my niece playing with the blue ball at our house and I wanted to create a unique embellishment to add to the page. So I pulled some round chipboard Lil Davis Designs numbers (yep they are old) and decided to cover them with paint. Oops - no white paint left! So I pulled out the puffy paint. On a tray, I squirted a big blob of puffy paint and added some blue MM paint and swirled it a bit. Then I dipped and dried. It created a marbeled effect which was glossy just like the ball. It took a while to dry but the results matched really well.
You could do this with any chipboard letters or shapes. Swirls of blue and green to mimic the water, a mixture of variants of red, orange, and yellow to mimic fire etc. Try it out!
 This layout was created for a sketch challenge at For the Love of Sketches! This is an amazing sketch site with great prizes! Check it out!
You could do this with any chipboard letters or shapes. Swirls of blue and green to mimic the water, a mixture of variants of red, orange, and yellow to mimic fire etc. Try it out!
7 Ways to Use your Paper Scraps
Hello everyone again! Summer is really flying by and scrappy time seems harder and harder to get but I keep trying! For today's installment of 7 ways, I am going to show you my favorite ways to use my paper scraps.
I organize my scraps in two ways. Larger scraps go into a set of Rubbermaid drawers and the smaller ones - well most of them - go into an accordion file that I found on clearance from Paper Studios. The problem is that I can only fit some of my scraps into the file. I still have yet to go through the greens and neutral colors. So OBVIOUSLY, I need to use up my scraps. Here are a few ideas!
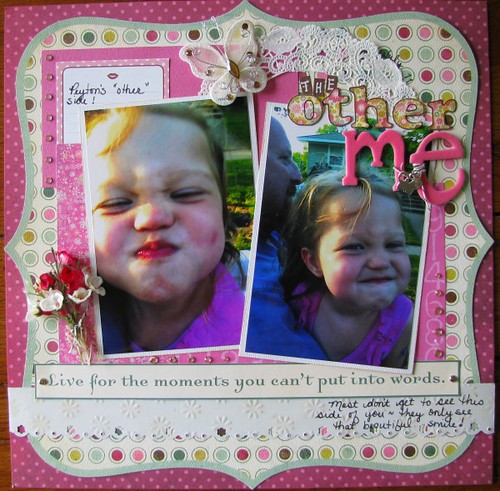
1. Pick smaller scraps of the same color and shade and layer them for a background! Here I did that behind the photos and made them a bit more cohesive by adding gems to them!
 2. Take your scraps and punch a bunch of tags. Then set them next to each other for a cute border/trim idea!
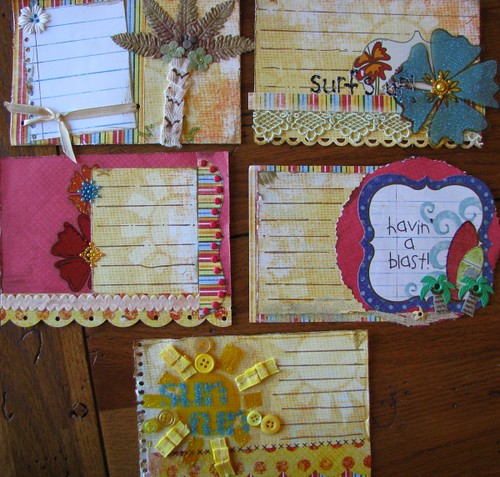
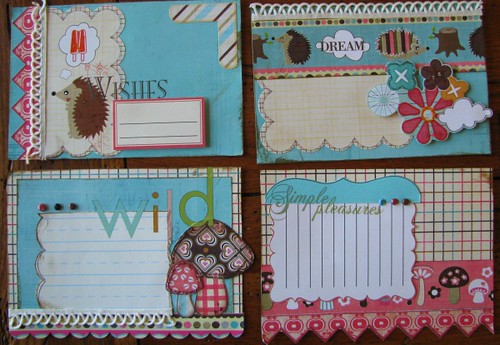
 3. Take the scraps and make cute little journaling cards. These would be perfect for a layout, postcard, travel journal, or any card!

 4. Stamp and cut some journaling spots for layering on a card or layout later! I love doing this in front of the TV!

5. One of my favorite technique - paper or stamp piece! I also used scraps for the borders, letters (I glued to chipboard first), and all the die cuts!
 6. Of course - the go to idea - use the scraps on a card or two like I did with the scraps from the Butterbeer layout!
 7. And finally, those long strips of leftover paper, punch a bunch of trims using your favorite border punches and scissors and save them in a file for later. Here, I punched 3 flower trims and used them to anchor my layout. They were of course just leftover cardstock!
 Here I layered those strips of paper or trims to create a unique background paper! This idea came from one of the awesome ideas at Cookin' Up Creations in their Blue Plate Specials!

I hope that you enjoyed some of my ideas! Check back next week when we alter and use up some of those Prima flowers!!!
I organize my scraps in two ways. Larger scraps go into a set of Rubbermaid drawers and the smaller ones - well most of them - go into an accordion file that I found on clearance from Paper Studios. The problem is that I can only fit some of my scraps into the file. I still have yet to go through the greens and neutral colors. So OBVIOUSLY, I need to use up my scraps. Here are a few ideas!
1. Pick smaller scraps of the same color and shade and layer them for a background! Here I did that behind the photos and made them a bit more cohesive by adding gems to them!

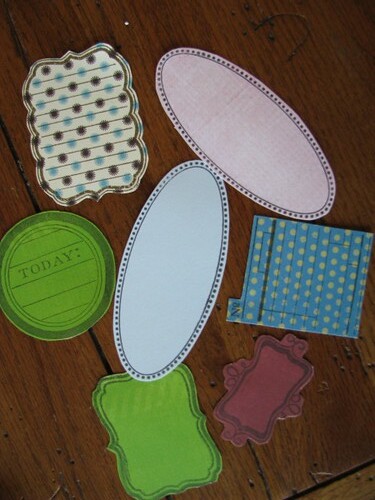
5. One of my favorite technique - paper or stamp piece! I also used scraps for the borders, letters (I glued to chipboard first), and all the die cuts!
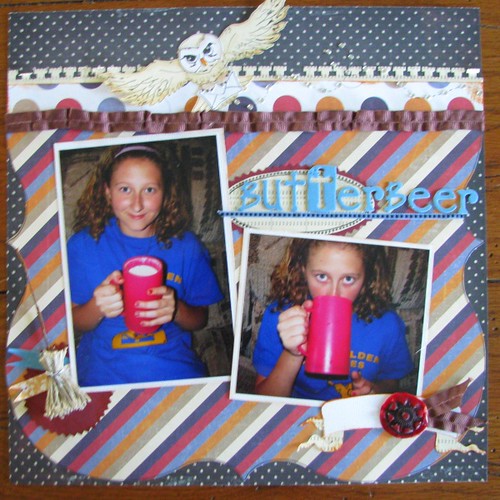
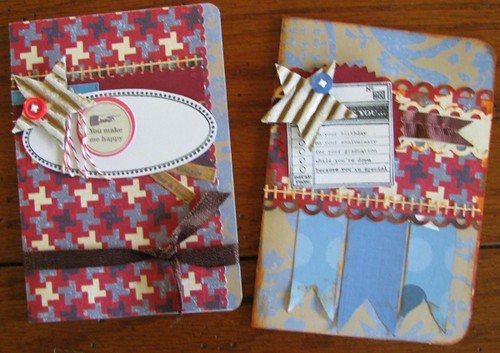

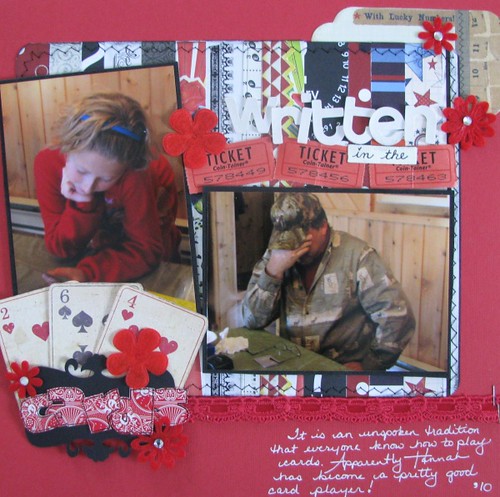
I hope that you enjoyed some of my ideas! Check back next week when we alter and use up some of those Prima flowers!!!
Friday, July 1, 2011
7 Ways to use Twine
For this week's 7 Ways, I decided to use twine in some unique ways!
1. Here is used twine to mimic the sun's rays and guide the viewer's eyes through the layout!
 2. Then I used twine to write a word from my title. I used glossy accents to write the word first and then added the twine over top:
 3. I used it to add interest by tying up a piece of patterned paper and anchor a button.
 4. I used it to create a handmade banner!
 5. I covered a button with twine:
 6. I weaved it through some eyelets to create a unique trim!
 7. And finally here, I used it to wrap some chipboard letters and a chipboard shape to create unique embellishments that reminded me of a Mexican blanket for my Mexican layout:

1. Here is used twine to mimic the sun's rays and guide the viewer's eyes through the layout!


Friday, June 24, 2011
7 Ways to Use Up Thickers and Letter Stickers
For this week's 7 ways, I decided to show you seven (ok maybe 8 by the time we are finished) ways to use up those extra Thickers and Alpha Stickers that everyone has lying around. So without further ado:
1. Txt Tlk - Create a title using text talk - eliminating vowels when necessary!
 2. Mix it Up - Mix all those letters and fonts that you have:
 3. Substitute letters - flip a u for an n, a p for a d, q for a b, etc.
 4. Substitute numbers for words - 2 for to, 4 for four, etc.
 5. Fill in the missing letters with Stencil letters:
 6. Substitute pictures for letters - sunglasses for OO's in Pool, Oreo Cookies for O's:
 Extra: Did you notice that the R is really a P with part of a K attached? I will sometimes cut apart other, less used letters to make another.
7. Combine similar colors of letters or Thickers:

Hope that you enjoyed my second edition of 7 ways! Now go scrap some leftovers!
1. Txt Tlk - Create a title using text talk - eliminating vowels when necessary!


7. Combine similar colors of letters or Thickers:

Hope that you enjoyed my second edition of 7 ways! Now go scrap some leftovers!
Friday, June 17, 2011
7 Ways - Ribbon
With everyone's scrapping budget dwindling lately - including mine, I thought that it would be best to try to use up those scraps in unique ways so I thought that I would start posting a 7 ways to use your scraps series. Today, I will start with ribbon. While there are many ways to use ribbon, I am focusing on ribbon scraps - those smaller pieces that can still enhance my projects. Here are 7 ways to use up those scraps:
1. Make a colorful fringe:

2. Make a funky flower! I layered the scraps on a circle and then topped with a Prima, button, and piece of ribbon.
 3. Layer them horizontally or vertically to create a piece of background "paper."
 4. Cut the scraps into small pieces to create a mosaic:
 5. Sew a strip of scraps together to make a unique pieced trim!
 6. Layer the ribbons on top of each other to make them pop!
 7. Embellish a handmade gift tag!

1. Make a colorful fringe:

2. Make a funky flower! I layered the scraps on a circle and then topped with a Prima, button, and piece of ribbon.


I hope that you enjoyedmy seven ways to use ribbon scraps. Check back for next week's 7 ways to use up your letter stickers/rub-ons/Thickers!
Subscribe to:
Posts (Atom)